If you live in the northern Santa Monica hills or along the canyon edges, wildfire is part of the landscape. Steep slopes, chaparral, and Santa Ana winds can turn windblown embers into real risks for your roof, vents, and landscaping. You want to protect your home without losing the beauty and outdoor living that drew you here in the first place.
This guide gives you clear, local steps to reduce risk while keeping your property stylish and functional. You will learn how to shape defensible space, seal common ember entry points, choose fire‑resistant roofing, and plan permits and insurance documentation. Let’s dive in.
Why wildfire readiness matters here
Northern Santa Monica borders the Santa Monica Mountains and wildland areas where hazard levels are higher than the flatter coastal neighborhoods. The combination of hillside vegetation, canyons, and seasonal winds can push embers long distances. Most homes do not ignite from a wall of flame. They ignite from embers that find a way in or light debris close to the structure.
Local agencies map wildfire hazard zones and may designate certain parcels as Very High Fire Hazard Severity Zone. If your property falls within one of these areas, you may face specific rules for building materials and vegetation management. Knowing your parcel’s status helps you plan the right upgrades and maintenance.
Know your property’s designation
Check fire hazard zones
Before you start work, verify whether your home is in a mapped fire hazard area. Cal Fire maintains statewide Fire Hazard Severity Zone maps, and local fire departments confirm expectations. If your home is in a designated zone, different standards for materials and vegetation may apply.
When Chapter 7A might apply
California Building Code Chapter 7A sets requirements for ignition‑resistant materials in high fire severity areas. Depending on your parcel and project scope, Chapter 7A can apply to reroofing, additions, or substantial repairs. The City of Santa Monica Building and Safety Division can confirm when Chapter 7A is required for your project. Checking before you start prevents costly rework.
Defensible space, zone by zone
Creating defensible space gives firefighters room to work and helps keep embers and flames away from your structure. Think in zones and adjust for slope. Vegetation uphill from the home deserves extra attention, since fire and heat move uphill faster.
0 to 5 feet: noncombustible base
This narrow band right against your home should be as noncombustible as possible. Use stone, concrete, gravel, or low‑profile, irrigated plantings. Avoid wood mulch near walls and keep this strip free of leaf litter. Store firewood, propane, and trash bins well away from this zone.
5 to 30 feet: immediate zone
Remove ladder fuels that let fire climb from the ground into trees. Prune tree branches 6 to 10 feet up from the ground or the lower third of the tree’s height. Keep shrubs and trees separated so that canopies do not touch. Maintain lawns and irrigation to reduce dry fuel. Keep this area tidy and open for access.
30 to 100 feet: extended zone
Thin dense brush, break up continuous fuels, and remove dead vegetation. Create spacing between groupings of plants so fire loses intensity as it moves. On larger hillside lots, consider professionally designed fuel breaks that respect the site’s ecology and views while reducing continuity of burnable material.
Slope and access
On slopes above your home, increase spacing and thinning because heat rises. Keep driveways and access points clear so responders can see your address and work safely. Maintain defensible space around any outbuildings and fences as well.
Seal the home against embers
Embers are small, windblown firebrands that can enter through surprisingly tiny gaps. Target the vents, eaves, crawlspaces, and attachments that embers exploit.
Vents and other openings
Install ember‑resistant vents that meet Chapter 7A or local wildfire requirements where applicable. Use corrosion‑resistant metal mesh sized to resist ember entry. Seal gaps around utility penetrations with appropriate noncombustible materials and high‑temperature sealants. Inspect attic, gable, soffit, and foundation vents and upgrade covers as needed.
Eaves, soffits, and crawlspaces
Box in open eaves or add protection to exposed rafters. Ensure soffit vents are ember‑resistant. Screen or enclose crawlspace vents with corrosion‑resistant mesh and keep the area beneath elevated floors clear of debris. Where decks meet the home, maintain a noncombustible surface and shield open areas so embers cannot accumulate.
Windows, doors, and decks
Use dual‑pane tempered glass when possible to reduce the risk of breakage from heat. Keep sliding doors clear of nearby combustible materials. Consider ignition‑resistant or noncombustible decking products directly adjacent to the structure and enclose the underside of decks with ember‑resistant materials.
Chimneys and flues
Install and maintain spark arrestors or chimney screens in line with local code and manufacturer guidance. Regular maintenance reduces the chance of embers escaping during high‑wind events.
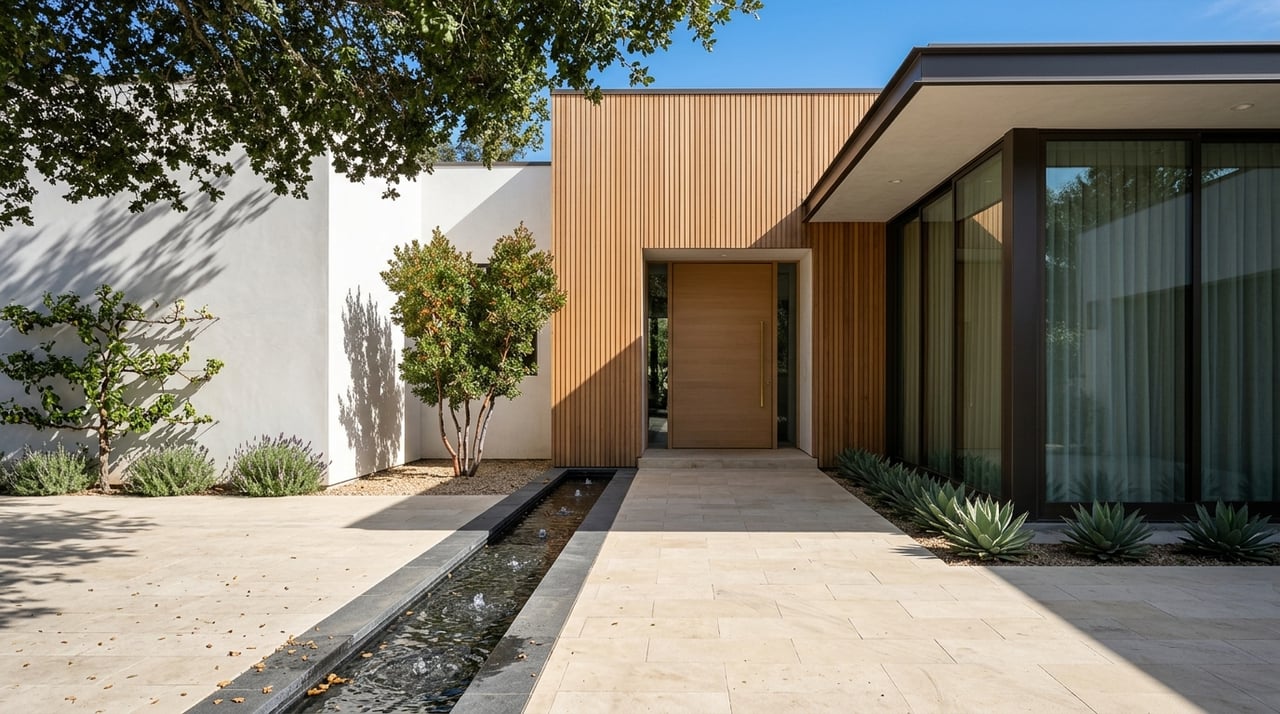
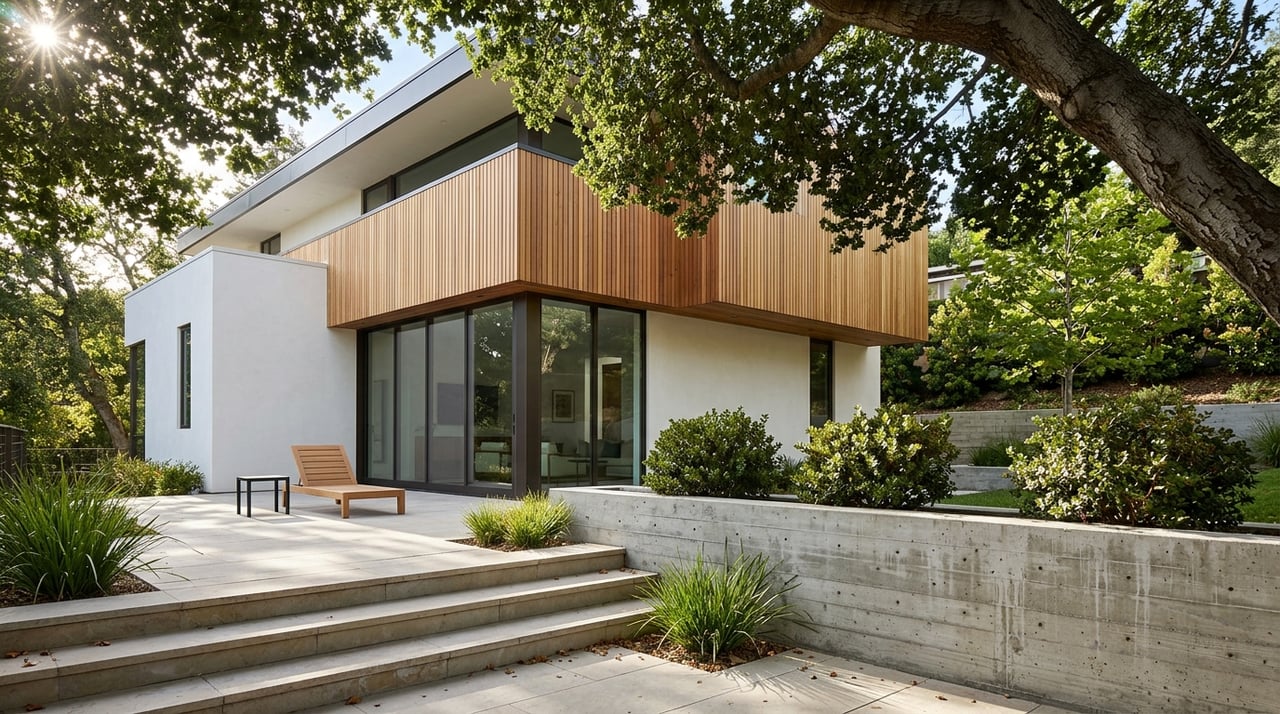
Roof, gutters, and edges
The roof is your most exposed surface. Embers tend to land and collect along roof edges, valleys, and gutters. A few targeted upgrades here deliver outsized protection.
Class A roofing
In high fire severity areas, ignition‑resistant Class A roofing is recommended and can be required. Class A options include fire‑resistant composition shingles, metal, and concrete tile. If you are due for a replacement, plan a reroof that aligns with Chapter 7A where applicable and pair it with sealed edges and proper flashing.
Gutters and debris management
Clean roofs and gutters before fire season and after wind events. Install gutter guards to reduce leaf buildup. Metal gutters are less likely to ignite than plastic. Keep debris off the roof, especially in valleys, behind chimneys, and near skylights where embers collect.
Skylights and penetrations
Tempered glass skylights with fire‑resistant framing are preferable. Avoid plastic domes near ridgelines or areas where debris gathers. Use ember‑resistant materials at roof penetrations and check seals during your annual inspection.
Inspection and maintenance
Schedule an annual roof inspection and repeat after major wind or nearby fire events. Remove any combustible debris as soon as you see it. Quick housekeeping is one of the most cost‑effective defenses you can implement.
Permits, insurance, and documentation
Permits and building codes in Santa Monica
Major projects like reroofing, structural repairs, and certain exterior changes typically require permits from the City of Santa Monica. If your property is in a mapped high fire severity area, ignition‑resistant construction rules under Chapter 7A may apply to the new work. Always check with the Fire Department and Building and Safety before starting.
Insurance expectations and credits
Insurers in California are increasingly focused on wildfire mitigation. You may be asked to show proof of defensible space, roof class, and ember‑resistant venting. Some carriers offer credits for verified upgrades, though programs vary. Contact insurers early in the buying or pre‑renewal process and ask what documentation they accept.
Keep insurance‑ready records
Create a simple file with before‑and‑after photos, receipts, and permit records for roof and vent work, decking, and landscape changes. Keep an annual maintenance log for gutter cleaning, vegetation removal, and roof inspections. Organized records can help with underwriting and may support better pricing.
Funding and local programs
Public programs change over time. Check with City of Santa Monica, Los Angeles County Fire, and Cal Fire for current homeowner outreach or cost‑share options. State and federal mitigation grants may be available through programs like FEMA’s Hazard Mitigation Grant Program. Utilities sometimes share vegetation management guidance for areas near their equipment.
A practical punch list
Use this prioritized checklist to make steady progress and stay market‑ready.
Immediate actions
- Clear roofs and gutters. Install or clean gutter guards.
- Remove combustible materials within 0 to 5 to 10 feet of the home, including wood mulch piles, firewood, and trash bins.
- Trim back branches that overhang the roof and remove dead limbs.
- Establish a noncombustible 0 to 5 foot perimeter with hardscape or irrigated plantings.
- Take photos to document current conditions.
Short‑term upgrades
- Inspect attic and foundation vents and install ember‑resistant covers if needed.
- Box in open eaves and seal gaps at overhangs and penetrations.
- Prune and thin vegetation within 30 feet and remove ladder fuels.
- Ensure your address is clearly visible from the street.
Medium‑term projects
- Plan a Class A reroof when replacement is due. Confirm permit requirements in advance.
- Replace or retrofit decks next to the home with ignition‑resistant or noncombustible materials and enclose undersides.
- Install and maintain spark arrestors on chimneys.
- Create or refresh a family evacuation plan and coordinate defensible space with neighbors.
Ongoing maintenance
- Clean roofs and gutters at least annually and after storms or wind events.
- Inspect vegetation seasonally and remove dead material.
- Keep irrigation systems working to maintain green, low‑fuel plantings.
Budget snapshot
- Gutter cleaning: hundreds annually for most homes.
- Ember‑resistant vent covers: several hundred to low thousands, depending on size and count.
- Class A roof replacement: several thousand to tens of thousands, depending on materials and square footage.
- Vegetation work and fuel reduction: varies widely by terrain and scope.
Notes for buyers
Ask sellers for records of past mitigation like receipts, permits, and photos. During inspections, prioritize the roof, vents, attic penetrations, and defensible space. If the property lies in a designated high fire hazard area, factor upgrades and ongoing maintenance into your offer strategy.
Work with a local guide
Fire‑hardening does not have to compromise design. With the right materials and a thoughtful plan, you can protect your home and keep your outdoor living beautiful. If you are considering a sale, smart upgrades can also support marketability and help with insurance conversations for prospective buyers.
If you want a property‑specific plan or a second set of eyes during due diligence, schedule a private consultation with Shelton Wilder. Our team can help you prioritize upgrades, connect you with vetted local contractors, and position your home to shine while staying wildfire‑aware.
FAQs
How far should defensible space extend around a home in the Santa Monica hills?
- Many agencies use 0 to 30 feet for the immediate zone and 30 to 100 feet for the extended zone, with a 0 to 5 foot noncombustible strip next to the structure. Check local guidance for exact expectations and adjust for slope.
What kind of vents should I install to block embers?
- Use ember‑resistant vents that meet applicable Chapter 7A or local requirements, typically with corrosion‑resistant metal mesh designed to resist ember intrusion. Choose listed products and follow manufacturer instructions.
Will these upgrades lower my insurance premium?
- Some insurers provide credits for verified mitigation like defensible space, Class A roofing, and ember‑resistant venting. Programs vary, so contact carriers early and keep documentation.
Do I need a permit to reroof or update vents in Santa Monica?
- Reroofing and many structural upgrades generally require permits. If your property is in a mapped high fire severity area, Chapter 7A may apply. Confirm specifics with the City of Santa Monica before starting work.
Where can I find programs or help paying for mitigation?
- Check with the City of Santa Monica, Los Angeles County Fire, and Cal Fire for current local offerings. State and federal mitigation grants, such as FEMA programs, are sometimes available for homeowners or communities.